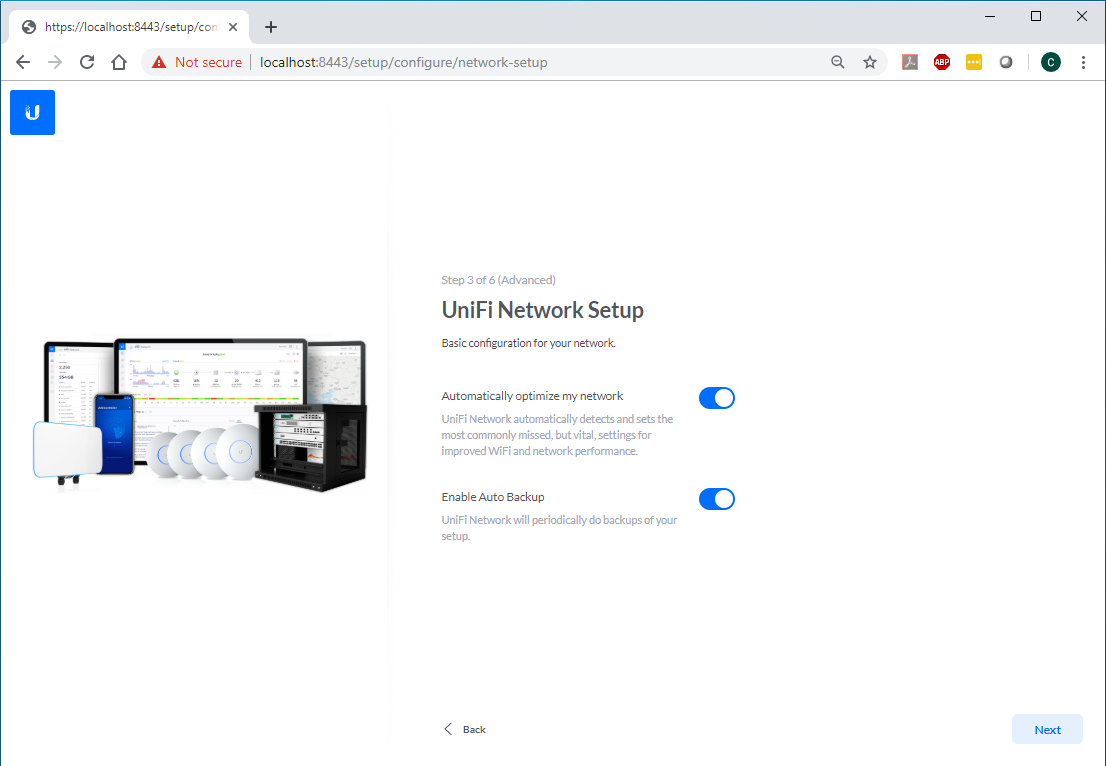
Here’s the secret: the AP doesn’t have a web interface you can type into. It’s a dumb little angel until you adopt it into the Unifi Controller—a free piece of software that runs on your computer, a Raspberry Pi, or a cloud key. Download it from Ubiquiti’s website. It’s like adopting a digital puppy: you feed it your network settings, and it fetches you glorious signal strength.
Install the controller on your laptop or PC. Launch it—don’t be scared when it asks for a username and password. You’re the admin, the boss, the almighty. Create an admin account (write it down somewhere, because future-you will thank present-you). The controller will then scan your network like a radar pinging for treasure. Wait ten seconds. You’ll see your AP pop up as “Pending Adoption.” Click Adopt. It’s that simple. Seriously, I’ve seen a cat walk across a keyboard and adopt one.
Naming Your Wi-Fi Networks (The Fun Part)
Now you get to name your Wi-Fi. This is where you can be a legend or a total goofball. Click on “Settings” then “Wireless Networks.” Create a new SSID—that’s the name your devices see. I named mine “LANdo Calrissian” and my neighbor’s kids still ask for the password. You can set a password under “Security” (use WPA2 or WPA3—your choice, but avoid “open” unless you want strangers streaming cat videos on your dime).
Want a guest network? Click “Add Network” and check “Guest Network.” This keeps your smart toaster away from your banking apps. Perfect for when your in-laws visit and you love them but not their malware-laden phones. Name it “Visiting Martians.” They’ll laugh. You’ll smile. The AP does the heavy lifting.
 Cómo configurar un access point unifi - Mundowin

